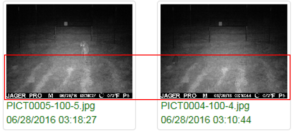
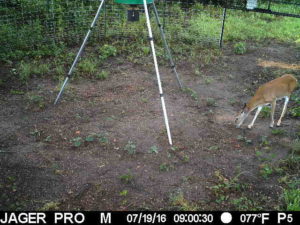
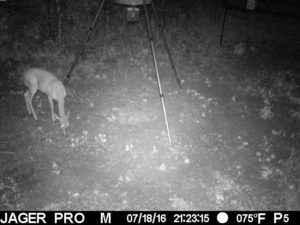
Where the motion sensor triggers
The first question you may have is, where is my camera triggering when something moves into its frame? The cameras Passive Infrared (PIR) motion sensor detects both heat and motion. The picture below shows two different animals that have entered the trap location and that it triggered accordingly. The PIR sensor will trigger on the bottom half of the photo with a detection angle of 39.9⁰ and has a field of view of 52⁰. This is important to remember when setting up your camera. This is a guideline, be aware that you can receive photos above or below the halfway point.
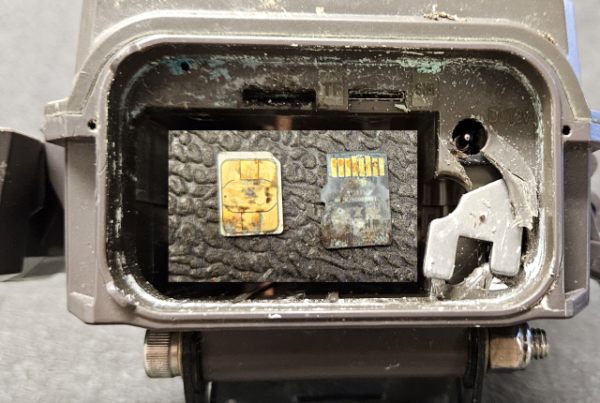
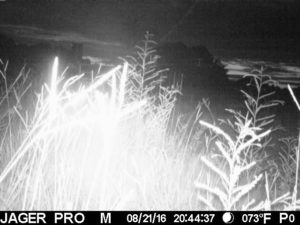
Overexposure, Obstacles and Camera Focus
Here are several things you want to avoid when setting up your camera for the best picture. If there is anything in front of the camera such as grass, limbs or the trap panels, cut the grass or limbs away or move your camera so that you have a clear view of what you’re looking at. Having objects in front of the camera will cause overexposed pictures when the camera flash bounces back or false triggers when the objects move during hot summer days. It is possible that the camera lens can become focused on one limb or panel which will make your photos unclear or the PIR motion sensor will do the same and not identify the heat or motion beyond the obstacle.
Additional Cameras
You can set up other cameras, such as an ICE camera outside the enclosure to make sure that everything has entered your trap site or that there aren’t any stragglers. For this one, you can have it lower to the ground and angled almost straight out. The PIR sensor detection range is 80 feet in most cases and the IR flash will reach out to 60 feet.
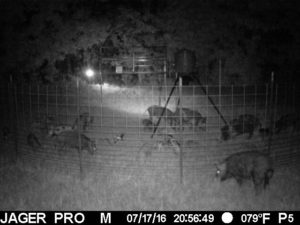
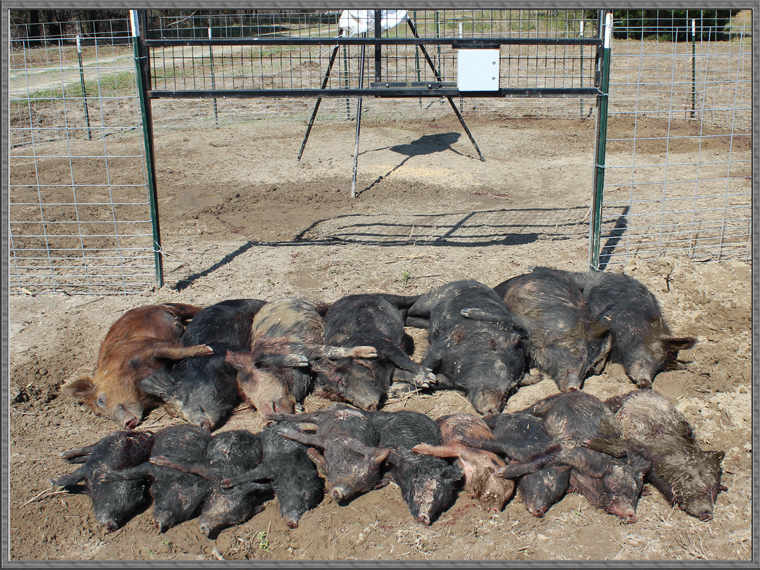
Proper elevation and angle
The next thing you will want to do is set your camera at the proper elevation and angle. This can be tricky and you may need to experiment with it to best suit your needs. Every trap will be set up differently and there are different aspects to each layout. The best position is to place the camera above the panels looking down into the trap enclosure. This will elevate the photo and look down into the trap location, this will also let you know when something is inside the trap and leave you with less false triggers or from movement outside of the trap location. Below is an example of an elevated picture looking into the trap location, this will allow you to see everything under the feeder and also view the control box and gate area so when you drop the gate you can identify that it is down. We also place the camera on a separate T-post at least eight (8) inches away from the panels to prevent the pigs from damaging the camera once the gate is dropped.
Using some of these examples will help you succeed in capturing the entire sounder while having proper placement, angle and clear of any obstructions. Visit our trapping photo page to see others success.